Use Add a Certificate if you want DigitalChalk to create a personalized certificate of completion when a student completes a course. You can specify how you want the the certificate to look and what information to include on the certificate. You can use a default certificate provided by DigitalChalk, or you can upload your own certificate.
To add a Certificate:
-
Click the Manage Courses tab. The Courses list is displayed.
- Click on the name of the course. The Edit Course Details window is displayed with a task list.
- Click Manage Course Elements from the task list.

-
The Elements list for the course is displayed.
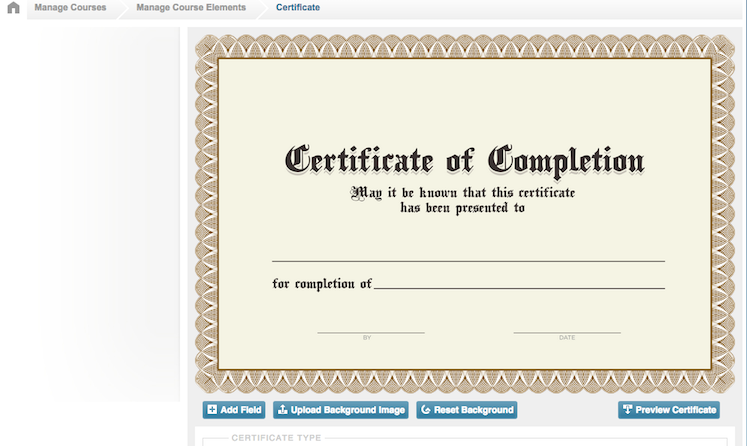
- Click Add a Certificate from the Course Elements list. The Certificate window is displayed with the DigitalChalk default certificate.
- Click the Add Field button. The Add Field window is displayed.
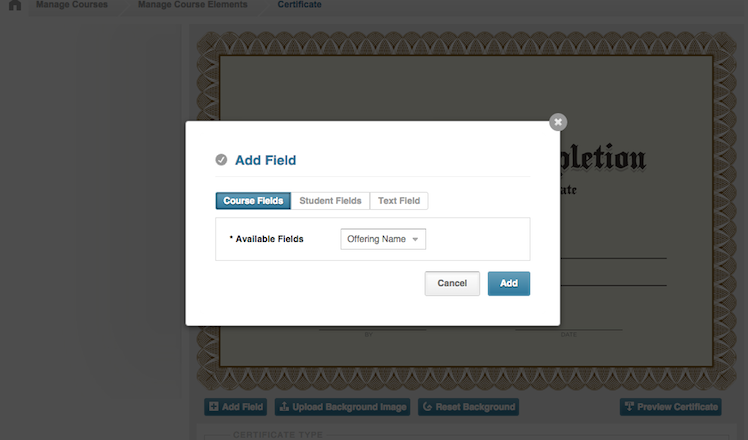
- Select Course Fields and Student Fields from the list of available fields. Click Test Field to add your own text to the certificate. Click the Add button to add a field to the certificate.
- The certificate is displayed with the field you selected at the bottom of the certificate.
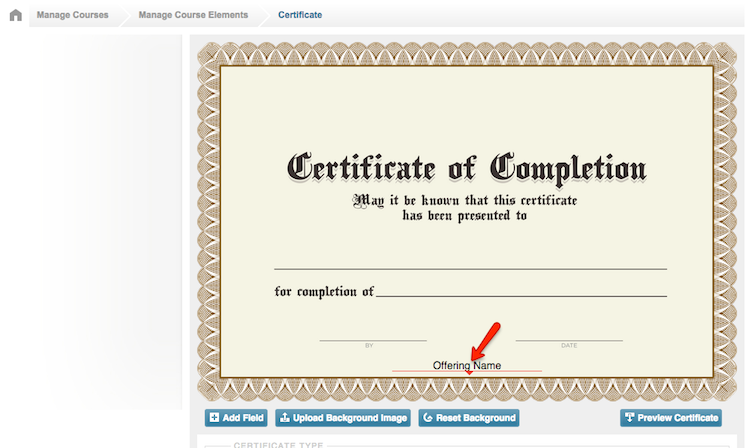
- Drag the field to where you want it displayed on the certificate.
- Repeat these steps for each field you want to add to the certificate.

-
To change the font or font size of the field, move the mouse over the field and click the Edit icon
.
-
To delete the field, move the mouse over the field, and click the delete icon
.
Uploading a Certificate template:
To use a certificate other than the DigitalChalk default:
- Click the Upload Background Image button. The Select a File window is displayed.
- Click Browse within the Select a File field. Your file selection window is displayed. Select the file you want to use as your certificate template and click the Upload button. Please note that certificate templates must be in .PNG, .GIF, or .JPG format. The optimum size is 1200 pixels wide x 928 pixels high. DigitalChalk will compress or expand the image to the optimum size.

- The Certificate window is displayed with the certificate template you uploaded.
- Click The Add Field button to add fields to the new certificate template.
-
Click the Reset Background button to reset the certificate template back to the DigitalChalk default template.
-
Click the Preview Certificate button to see a sample of the completed certificate.
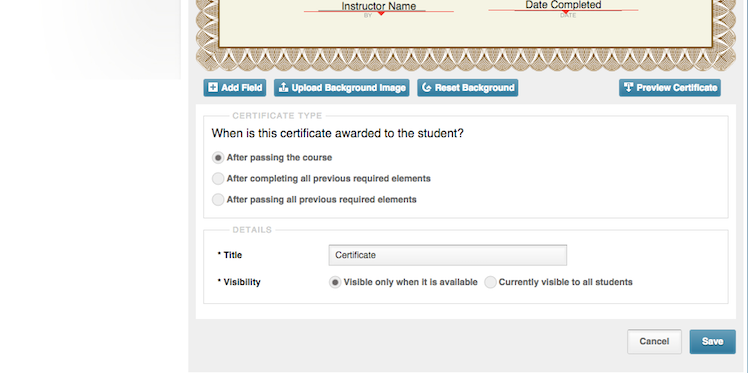
Specifying Certificate details:
- Enter the general information for the Certificate or use the DigitalChalk defaults. The fields with asterisks are the only required information.
-
Click the Save button when you finish entering information for the Certificate.